Simple Instructions
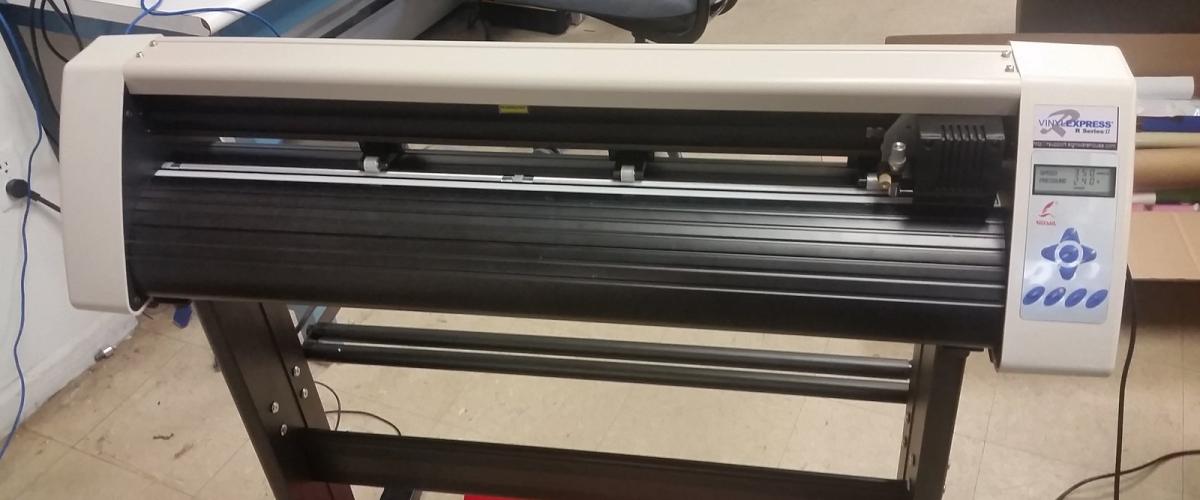
Design in Inkscape then save your file as a EPS. This can then be opens in LXI the Vinyl cutting software on the computer next to the cutter. In that system there is a image of a cutting knife in the top icon row. Click this to enter the cutter print screen.
Logical printer settings are Speed: 50mm/s and pressure 160g. The knife point should be about half a credit cards width above the cutting holder (as depicted in presentation)
ADVANCED - Cutting directly from Inkscape
In inkscape you need to be sure you have coverted all your objects to paths. You can do this by selecting everythign and selecting "Paths"> "Object to Path"
It is also good to look at your dessign in outline mode as a way to better see the cuts. "View" > "Display Mode" > "Outline" (Pro tip: remember to turn this off later)
Windows Setup Directions
Next you need to plug the cutter in via USB and (in windows) go to the Device Manager and figure out what Com Port the printer is on. Note this port.
May also need: http://www.signwarehouse.com/blog-support/r-series-driver-for-64-bit-versions-of-windows/
Now you need to add a library to Inkscape so it can send data to the cutter. Grab the Zip (not exe) at https://pypi.python.org/pypi/pyserial
Then unzip it and dig into the directory for the serial folder and add it here to Program FIles> Inkscape > python > Lib (in Windows)
Then restart Inkscape.
[[{"type":"media","view_mode":"media_large","fid":"909","field_deltas":{"1":{}},"fields":{},"attributes":{"height":"300","width":"480","class":"media-image media-element file-media-large","data-delta":"1"}}]]
Now you can use the extension. Go to "extensions" > "export" > "Plot"
[[{"type":"media","view_mode":"media_large","fid":"910","field_deltas":{"2":{}},"fields":{},"attributes":{"height":"300","width":"480","style":"font-size: 13.008px; line-height: 1.538em;","class":"media-image media-element file-media-large","data-delta":"2"}}]]
This will bring up more options. Be sure to set the correct COM port.
[[{"type":"media","view_mode":"media_large","fid":"911","field_deltas":{"3":{}},"fields":{},"attributes":{"height":"444","width":"365","class":"media-image media-element file-media-large","data-delta":"3"}}]]
I found it a lot more intuative to print the design at a 90 degree rotation. This makes it like a regular printer in the way the design comes out.
[[{"type":"media","view_mode":"media_large","fid":"912","field_deltas":{"4":{}},"fields":{},"attributes":{"height":"444","width":"365","class":"media-image media-element file-media-large","data-delta":"4"}}]]
When you hit apply you should it should print.
This is a helpful template for laying out your document
Other Options
Other tools could be investigated: http://libregraphicsworld.org/blog/entry/vinyl-cutting-on-linux-the-real-deal
Inkcut http://inkcut.sourceforge.net/ in particular looks cool, and works well from Ubuntu but we need to figure out how to get it to communicate to the cutter.
For Reference: http://www.signwarehouse.com/blog-support/r-series-cutter-installation/

