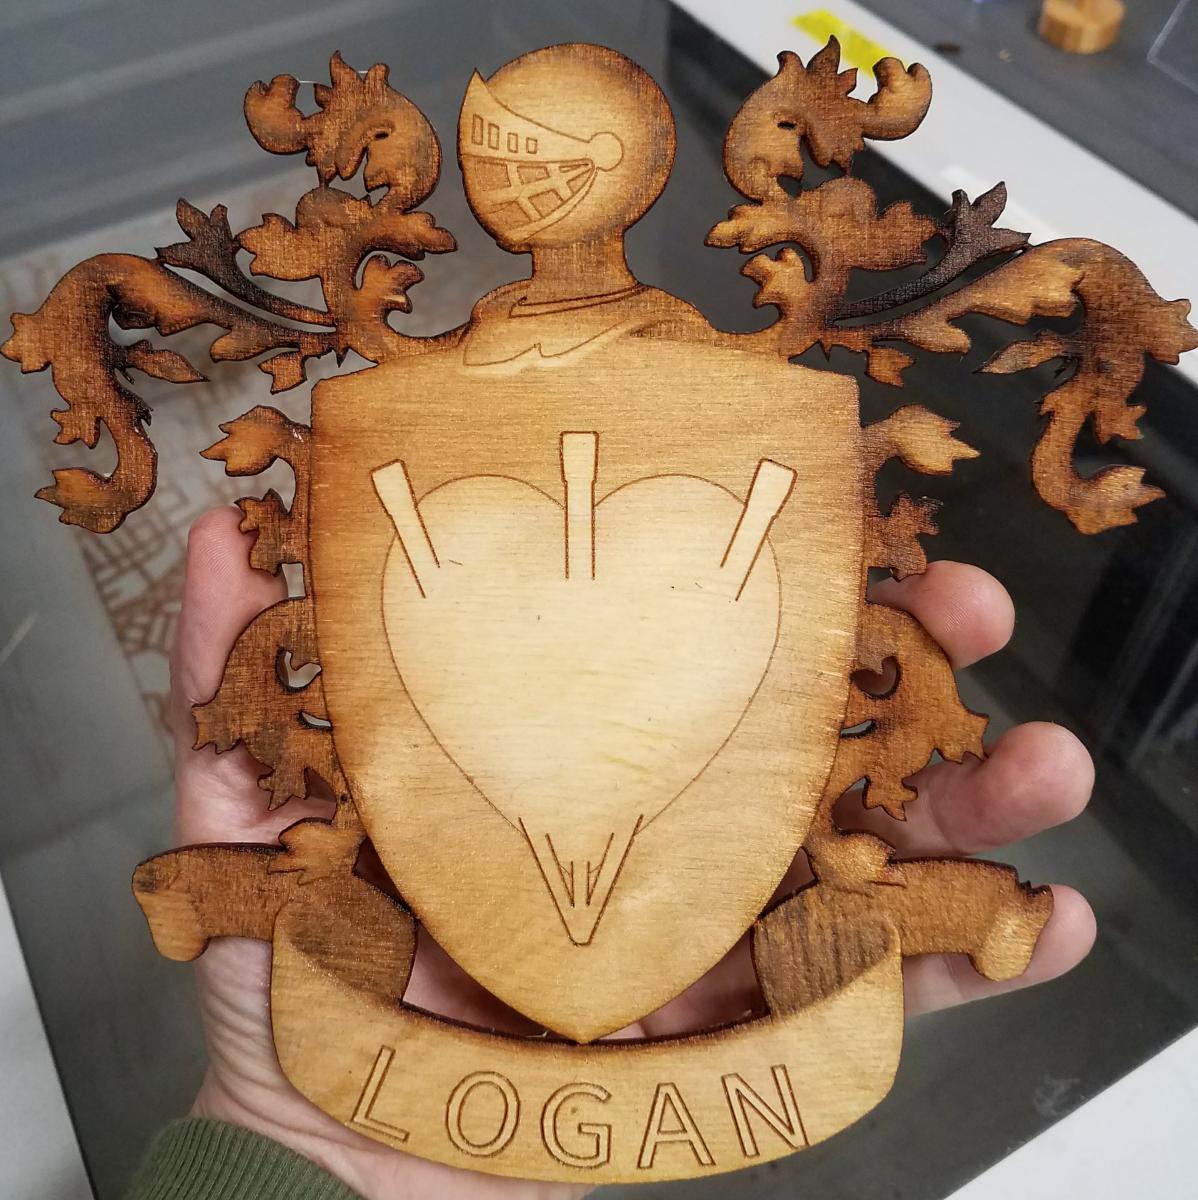
1. Find Starter 3d Models.
First I found some 3d shape files for a crest.
I found some good sources for buying elements at: Desgin and Make and 3d Vector Art. However found a free STL at DeskProt
2. Shrink the File (optional)
From there I went to go add it to Tinkercad and add the other elements, however the file was too large to upload.
To reduce the filesize I used Meshlab. After loading the file I went to "filters" - > "Remeshing, Simplification and Reconstruction" -> "Quadric Edge Collapse Decimation"
3. Assemble the parts into your design
In the box that popped up I set the max number of faces that I wanted to a smaller number. Once the process was done I had a smaller file that could be used in TinkerCad.
4. Create a Height Map.
I then exported the STL and went to build a height map. This is basically a grey scale image which shows closer areas in white and further areas in black. After a little research I figured out that I can do this inside Meshlab.
It is a little fussy but you can used a "shader" (something that impacts the way the model is displayed on the screen) called "heightmap". This has sliders that allow you to choose the range over which the height map works. You want the furthest to be very dark and the highest to be very light to capture the greatest range of detail. Tip, you can hold shift and roll the mouse wheel to change the depth of view, this can be helpful in this process. Once you have it the way you like you use the little camera button at the top to grab a screen shot. The "screen multiplier" allows you to get higher resolutions than your screen. I used 4 on this setting to get a very height resolution image. One other tip. I found I needed to make the background all one color (red) to make it easy to remove later. Those settings are in "Tools" -> "Options". There is a good video tutorial available on this process.
5. Get the Into Gimp.
For some reason The design came in with an alpha (transparent) channel that impacted the entire image rather than back. To lose that I opened the Layers menu (Ctrl L) then added an all black layer. I then used the "merge down" option on the layer so I had one layer where transparent was replaced by black. Next I needed to extract just the part I wanted and loose the black surrounding trim. Knowing it is all pure black I used the color selector tool with threshold of 0 (highlighted in tool box in image) then "selection" and "Invert", then copy and paste (then right click to make the floating layer a new layer). At the end of that process I had the basic image I wanted.
You can check out my example Gimp file.
6. Tweak the contrast.
After a test on the laser I decided I really wanted to pull forward the higher points with lighter shading. For this I used Gimps "colors" then "Curves" menu.
I also tweaked the design by removing the wolves and replacing them with some replications of the floral design. I then used the "File" then "export" to create a png image.
7. Trace Outline In Inkscape
I imported the PNG into Inkscape. Then I used the "Path" and "Trace Bitmap". This is what I used to generate the vector outline of the crest to cut. I used brightness cutoff and .99 as the threshold. After it was done I still needed to do a little cleanup with the "edit paths tool" (see red arrow).
I set the line color to red and the thickness to .2px for cutting.
8. Add Vector Accents in Inkcape
Then for accent lines I wanted to add using blue, yellow and green where done by hand tracing with the Bezier Curve Tool. Although it hides the color, the "View" and "Outline Mode" shows these details.
You can see the example file I created
9. Cut it.
I first did a very small one to test the power settings.
When printing a raster you will want to used the regular print menu. The laser will go over the entire document size so you want to change the document properties so that it is only as big as it needs to be. Also in the advanced settings you should choose Error Diffusion if cutting on a rough surface like wood.
I used Black (raster) Power: 100, Speed: 20, PPI 500 (Error Diffusion)
For the vector engraving I used three different assignments of power (using vector colors, yellow, blue, green) for different looks. You will need to experiment with what works for you.
Finally I did the outline vector cut (which I had created as a red line)
10. Finish it.
To finish I used boiled linseed oil and wiped it lightly over the part front and back. I liked the burned look so was careful not to be too abrasive with it.
What is next?
Next I want to do a version where there are three different layers (floral, shield, heart) which are cut separately and glued together. Maybe even do the heart and nails separately stain them in color. I would also like to figure out a good way to mount it in a shadow box or maybe on a tartan since it is Scottish.
Another project would be to use this design on the CNC wood mill. Looking at examples on the web I see very impressive results.
A crest that can be customized to your familly or your imaginiation.
